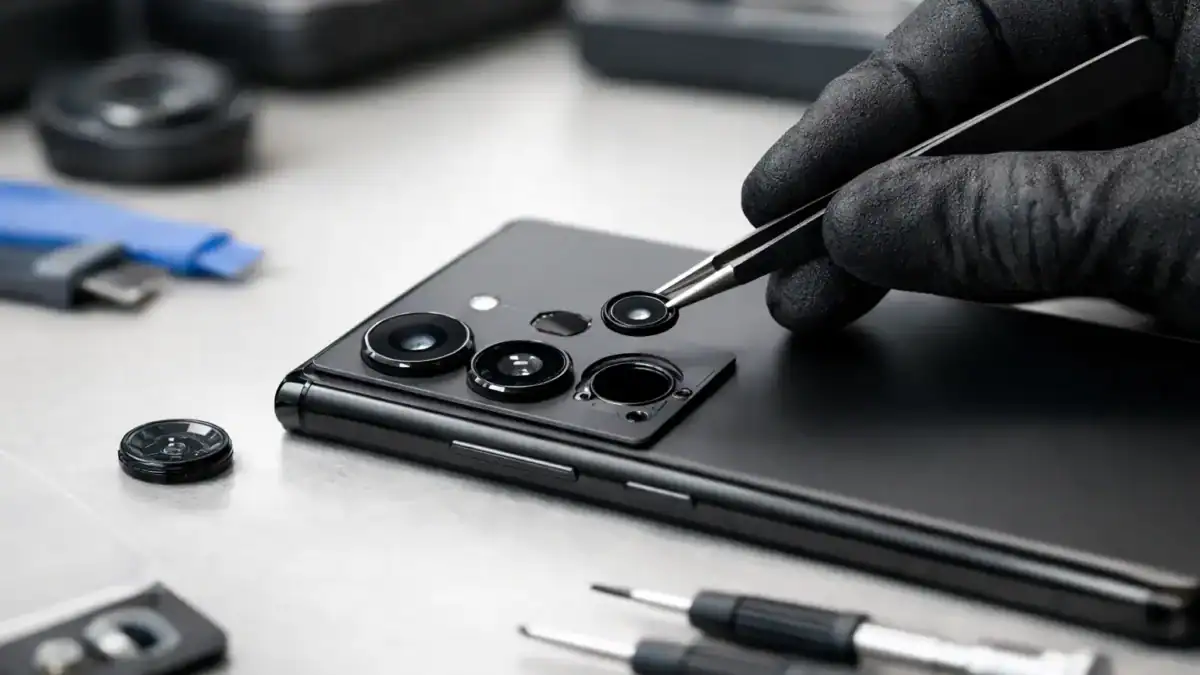
A cracked rear camera lens can turn an otherwise saleable Samsung handset into a return risk. This Samsung camera lens replacement guide covers the checks that matter before fitting a new lens cover: confirming the exact model, assessing camera damage, removing broken glass cleanly and restoring a properly sealed finish.
First, identify what has actually failed
On most Samsung phones, the visible outer glass is a camera lens cover or camera glass, not the camera module itself. A crack in this cover may leave the camera working normally, but it can cause glare, haze, flare around lights and poor focus. It also leaves the camera cavity exposed to moisture and dust.
Do not order a replacement lens cover solely because glass is broken. Open the camera application and test every rear camera position. Check standard, ultra-wide, telephoto and macro modes where fitted. Inspect images in good light and against a plain background. If one view remains blurred after the broken glass is removed, if it will not focus, or if the app reports a camera error, the relevant rear camera module may also require replacement.
This distinction affects both part selection and repair pricing. Replacing external glass is usually a contained rear-cover repair. Replacing a camera module can involve further disassembly, connector handling and post-repair functional testing.
Confirm the exact Samsung model before ordering
Samsung model families can look nearly identical while using different camera layouts, lens diameters, colours and adhesive shapes. A lens cover for a Galaxy S model will not necessarily fit the next generation, the Plus version, the Ultra version or an FE variant. The same applies across the Galaxy A, M, Note, Z Fold and Z Flip ranges.
Check the model number in Settings, About phone, or on the device label where available. It commonly begins with SM- followed by a model code. Match that code to the replacement part description rather than relying on the handset’s visual appearance or the customer’s stated model.
Also establish whether the required part is a single lens glass, a multi-lens camera glass assembly, a camera bezel with lenses, or a complete rear housing. On some devices, each camera aperture can be replaced individually. On others, the glass is supplied as one assembly. If the surrounding camera frame is bent, chipped or lifting from the rear housing, fitting glass alone can produce a poor seal and an untidy finish.
For repair businesses, this check is where avoidable stock loss is prevented. Model-specific parts sourcing is quicker than processing a fitted-but-incorrect component.
Assess the rear housing and camera modules
Before beginning the Samsung camera lens replacement, inspect the repair area under magnification. Look for fragments sitting inside the camera aperture, distortion around the metal or plastic surround, and damage to the camera module’s own lens. A deep impact can transfer through the outer glass and mark the module lens, even when the module still powers on.
Test autofocus at close and long distance. Then test video recording, flash operation and switching between lenses. On models with optical image stabilisation, listen for unusual rattling and inspect video for persistent shake. A replacement outer lens will not correct internal optical damage.
If the rear cover is cracked, badly warped or already lifting at the edges, a complete rear cover or rear housing repair may be the more commercially sensible option. It gives a better cosmetic result and reduces the chance of dust entering through multiple compromised areas. The right approach depends on the handset’s condition, the value of the device and whether the repair is intended for resale or return to a customer.
Prepare the bench before heating the handset
Lens-cover work is small-scale, but it is not a job for uncontrolled heat and improvised cleaning. Keep the camera area protected from debris and prepare the replacement part before removing the old one. Confirm that the new glass is free from scratches, that any pre-fitted adhesive aligns with the aperture, and that the colour and finish match the existing rear cover.
A suitable repair setup includes controlled heat, fine tweezers, a plastic pick, a non-metal cleaning tool, isopropyl alcohol, lint-free wipes and dust-removal tape. Eye protection is sensible when removing shattered glass. A heat-resistant mat also helps protect the handset finish and keeps fragments contained.
Power the device off. If the repair requires removal of the rear cover or access near internal components, disconnect the battery once access is available. Avoid applying direct heat to the camera module for extended periods. Excess heat can affect adhesive, image stabilisation components and nearby plastics.
Remove the damaged lens glass without contaminating the camera
Apply moderate, localised heat around the damaged lens cover to soften its adhesive. Work gradually. Forcing a cold lens cover can pull up paint, damage the camera bezel or send fragments into the aperture.
Lift larger pieces carefully from the outside edge, keeping the tool angled away from the camera module. Do not lever against the module lens itself. Where glass has shattered into fine pieces, use dust-removal tape to lift fragments rather than brushing them across the opening.
Once the old glass is removed, clean the seating surface thoroughly. All old adhesive, loose coating and micro-fragments must be removed before fitting the replacement. Adhesive residue can prevent the new lens from sitting level, while a single fragment trapped over the camera can appear as a dark spot or blur in photographs.
If access allows, protect the camera aperture during adhesive removal. Use only a small amount of isopropyl alcohol on a lint-free swab or wipe. Do not flood the area. Liquids can migrate into the camera module or under the rear housing.
Fit the replacement lens squarely
Dry-fit the replacement before exposing any adhesive. Check the orientation, especially on multi-camera assemblies where one end can look deceptively similar to the other. The glass should sit flush with the surrounding frame and must not overlap an aperture.
If using a pre-cut adhesive-backed lens, peel the protective layer only when the seating surface is clean and dry. Lower the part evenly rather than pressing one edge down first. Apply gentle, consistent pressure around the perimeter and avoid pressing hard in the centre of the glass. Pressure directly over an unsupported lens can crack a new part or disturb the camera module below.
Where adhesive is supplied separately, use the specified pre-cut adhesive where possible. Excess liquid adhesive creates risk around camera apertures, can spread onto the glass and makes later repairs more difficult. It can also cure unevenly, leaving the lens raised or misaligned.
Allow the adhesive to settle before carrying out a final cosmetic inspection. A lens cover that looks acceptable immediately after fitting may shift if handled too soon.
Test image quality before returning the device
Power on the handset and test every rear camera again. Take photos of a bright scene, a low-light scene and a close subject. Review them at full size for dust spots, haze, reflection, focus issues and obstruction from adhesive. Test video, flash and lens switching as applicable to the model.
Wipe the new lens with a clean microfibre cloth before the final test. Fingerprints and adhesive film can be mistaken for an optical fault. If a new blur appears after fitting, do not assume the replacement glass is defective. Check first for protective film, debris on the inside surface, residue on the module lens or a lens cover that has not seated flat.
A camera lens repair does not restore a handset’s original factory water resistance. Even where a replacement lens or rear cover uses adhesive, the original seal may not be replicated after impact damage and disassembly. This should be made clear on customer jobs, particularly where the phone has a history of water exposure.
Common fitting errors that create returns
The most common issue is fitting the wrong lens cover to a visually similar model. The next is leaving fine glass or adhesive inside the camera opening. Both are avoidable with model-code verification and a controlled clean-down before installation.
Technicians should also avoid reusing a lens cover that has been removed intact. Its adhesive seal is unlikely to perform consistently a second time. Likewise, do not fit new glass over damaged housing edges simply to save time. The part may sit proud, collect dirt and fail prematurely.
For regular Samsung repairs, keeping lens covers organised by exact model family and generation reduces bench delays. iParts4U supports this repair-first approach with Samsung replacement parts selected by specific device compatibility, helping technicians source the component needed without relying on guesswork.
A clean camera image is the real completion point. If the glass is flush, every camera mode focuses correctly and the housing is free of debris, the repair is ready for handover rather than another avoidable return.